Start command and port
Every service needs to know how to run your application.Start command
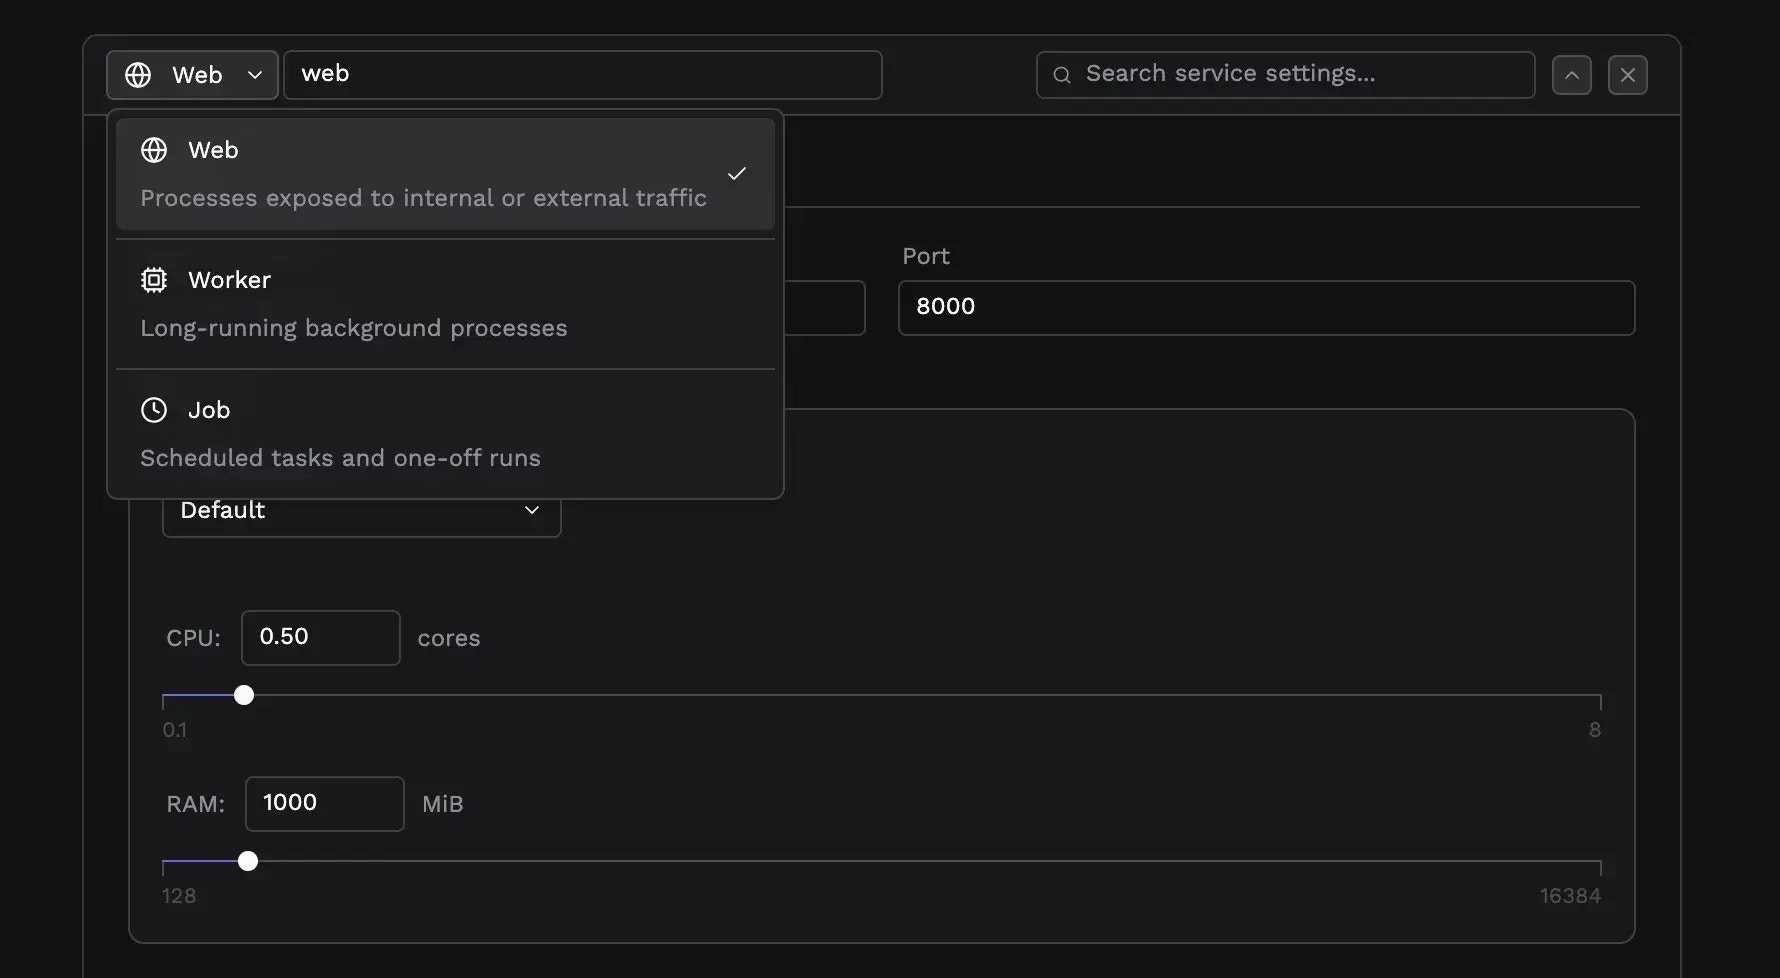
The start command tells Porter what process to run inside your container. For GitHub deployments, Porter often detects this automatically based on your framework. For Docker deployments, leave the start command empty to use your image’s default CMD, or specify a command to override it. If your image supports multiple modes, you can run the same image with different commands for each service:- Web service:
npm startor leave empty for default - Worker service:
npm run worker - Job service:
npm run cleanup
Port
Web services require a port number—the port inside the container where your application listens for HTTP traffic. This must match what your application actually binds to, not an external port. Common ports include 3000 (Node.js), 8080 (many frameworks), 80 (nginx), and 5000 (Flask). Check your application’s configuration or Dockerfile if you’re unsure.Resource allocation and scaling
Every service needs compute resources. Porter lets you configure exactly how much CPU and memory each service receives, and how it scales under load.CPU and memory
CPU is measured in cores, configurable from 0.1 (one-tenth of a core) up to 8 cores. Memory is measured in megabytes, from 128 MB up to 16 GB. The defaults (0.5 cores and 1 GB of memory) work well for lightweight services. Increase these values for compute-intensive workloads or applications with large memory footprints.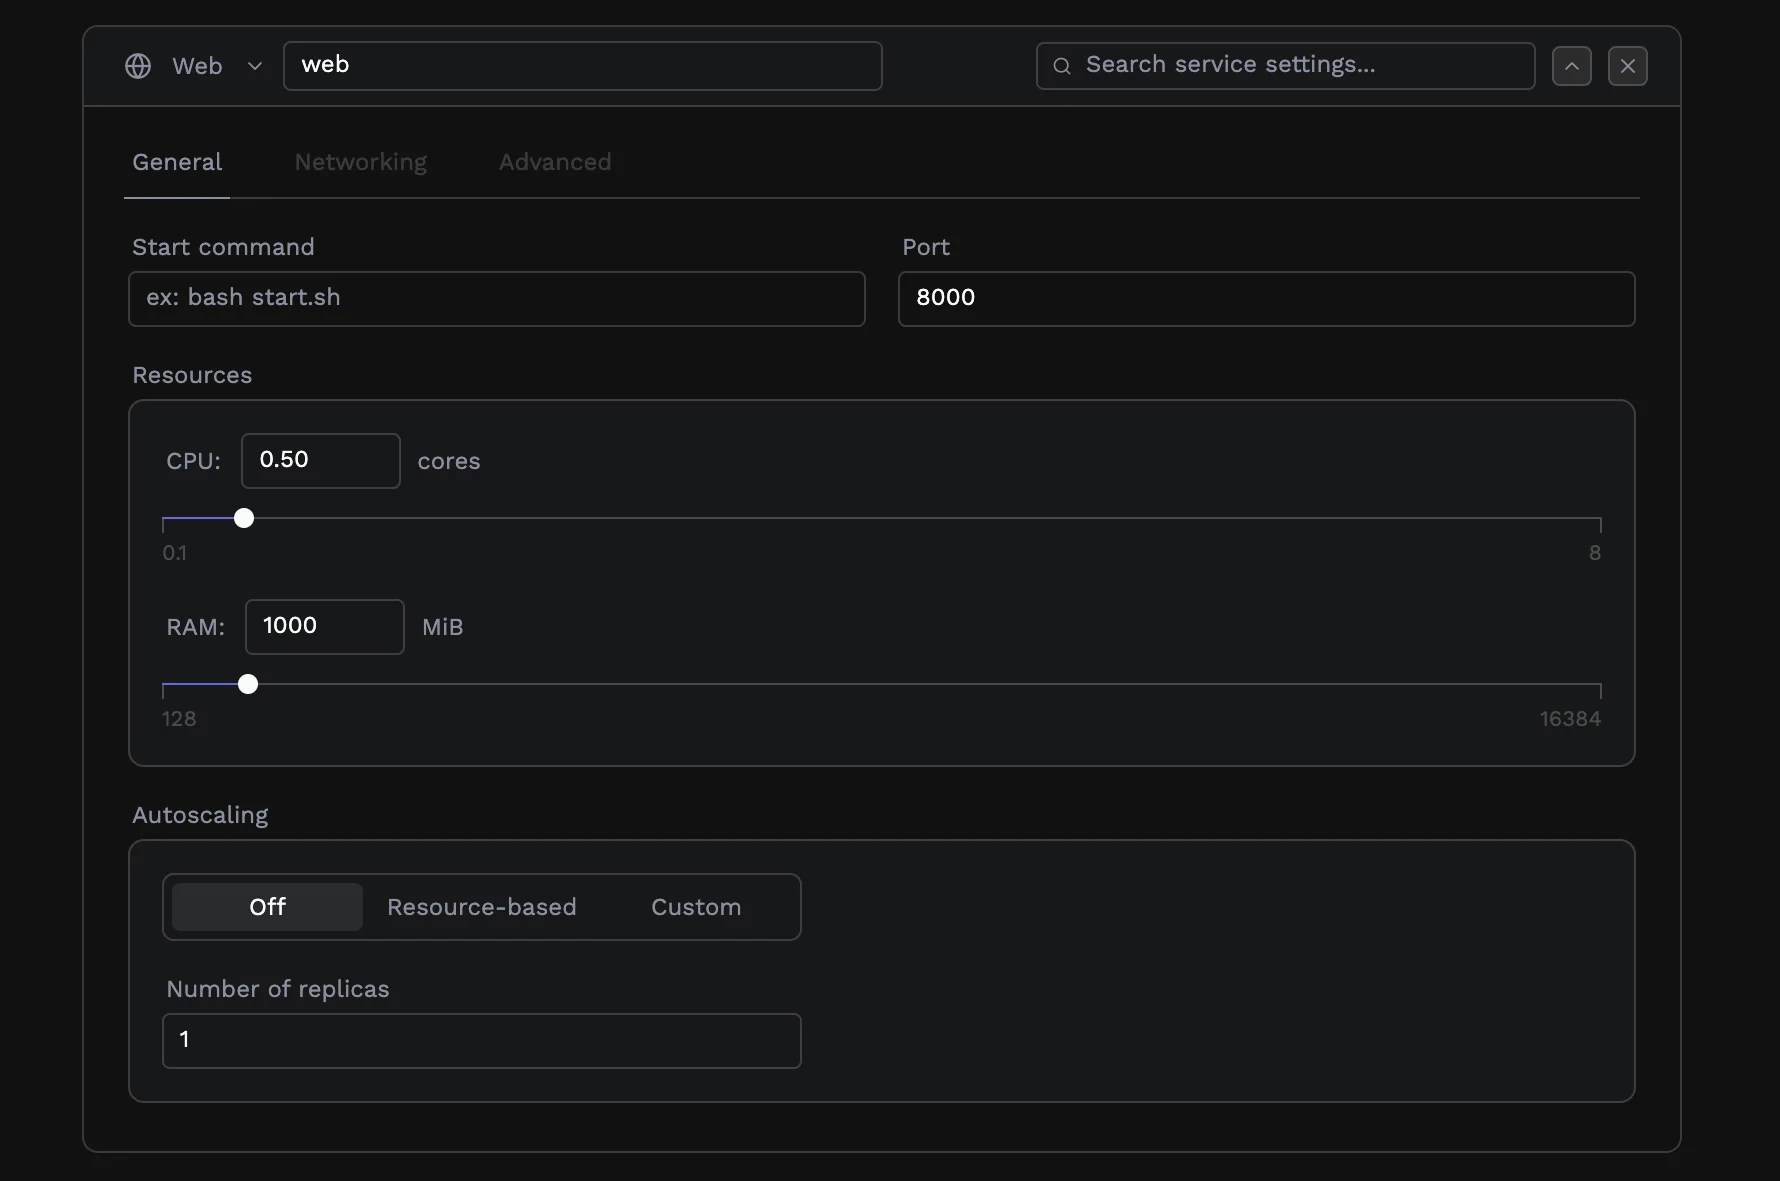
Node groups
If your cluster has more than one node group to pick from, you can select them here. When you choose a node group with GPU support, an additional slider appears for configuring GPU allocation. For most applications, the default node group is appropriate.Scaling
By default, Porter runs a single instance of each service. For production workloads, you’ll typically want multiple instances for redundancy and to handle traffic spikes. See Autoscaling for a complete guide.Networking and domains
Web services can be exposed to the internet or kept private within your cluster.Public services
By default, web services are public, i.e., accessible from the internet. Porter provisions a URL where your service is reachable immediately after deployment.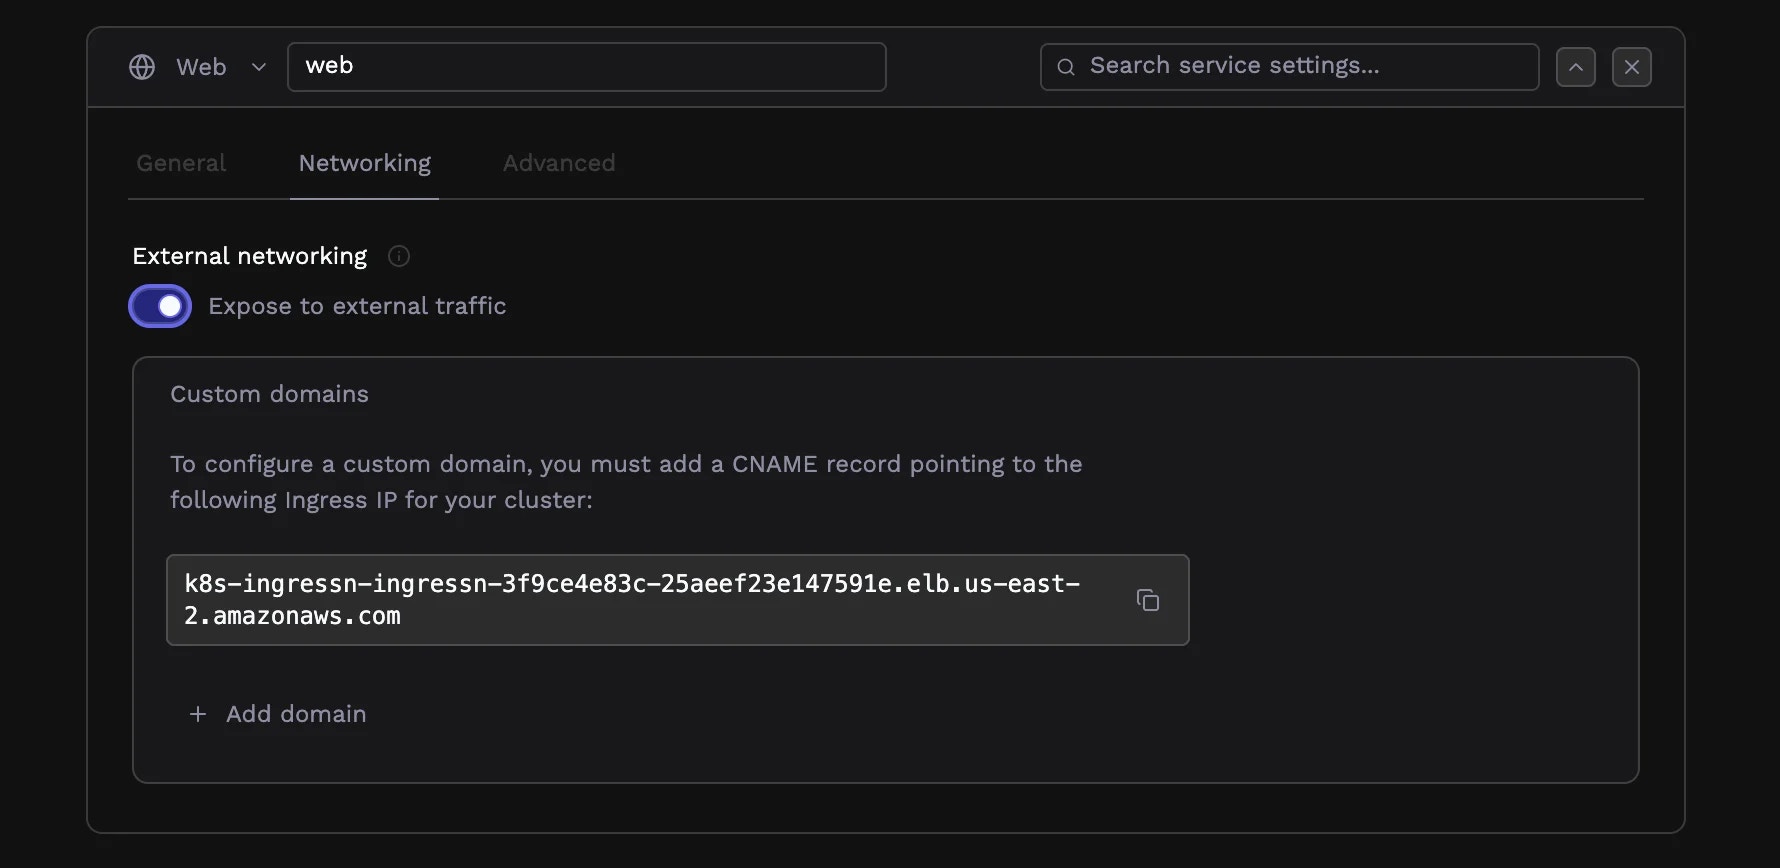
Private services
Toggle a service to private when it should only be reachable by other services in your cluster. Private services are useful for internal APIs, admin interfaces, or services that sit behind a public-facing gateway. Private services get internal DNS names that other services in your cluster can use to communicate.Custom domains
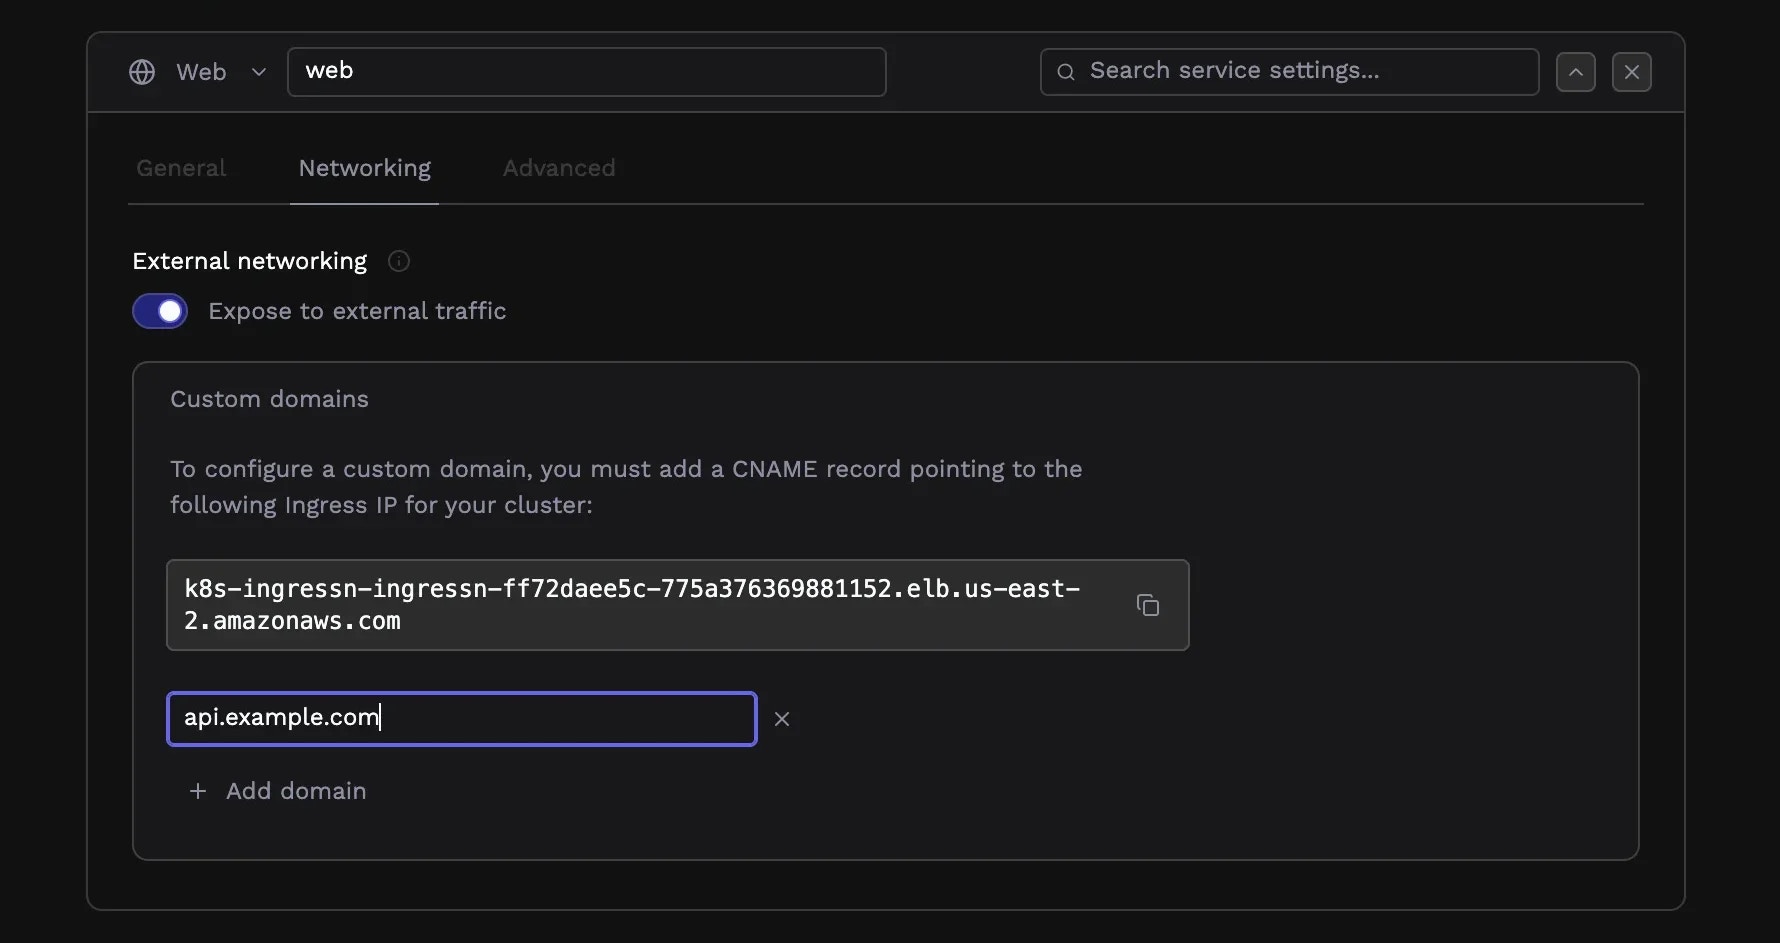
To serve your application on your own domain, add it in the Domains section. You can configure multiple domains for a single service—useful for handlingwww and non-www versions, or serving the same application on different domains.
After adding a domain, configure DNS by creating a CNAME record (or an A record for apex domains) pointing to your cluster’s ingress IP address. Porter displays this address with a copy button. DNS propagation typically takes a few minutes, though it can occasionally take longer.
Advanced routing with NGINX annotations
For complex routing scenarios, you can add custom NGINX ingress annotations. These key-value pairs are applied directly to the Kubernetes ingress resource, giving you access to NGINX’s full feature set. Common uses include custom rewrite rules, rate limiting, authentication requirements, CORS headers, and proxy buffer configuration. The annotation keys follow thenginx.ingress.kubernetes.io/ prefix convention.

Environment variables and secrets
Most applications need configuration values that vary between environments: database URLs, API keys, feature flags, and other settings.Adding variables
On the app configuration page, expand the Environment variables accordion to define key-value pairs that become environment variables in your running containers. Type the variable name and value, and click the lock icon to mark a value as a secret.
Environment groups
If you have variables shared across multiple applications (like a database connection string or third-party API key) you can organize them into environment groups. Select existing groups from the dropdown to sync their variables into your application.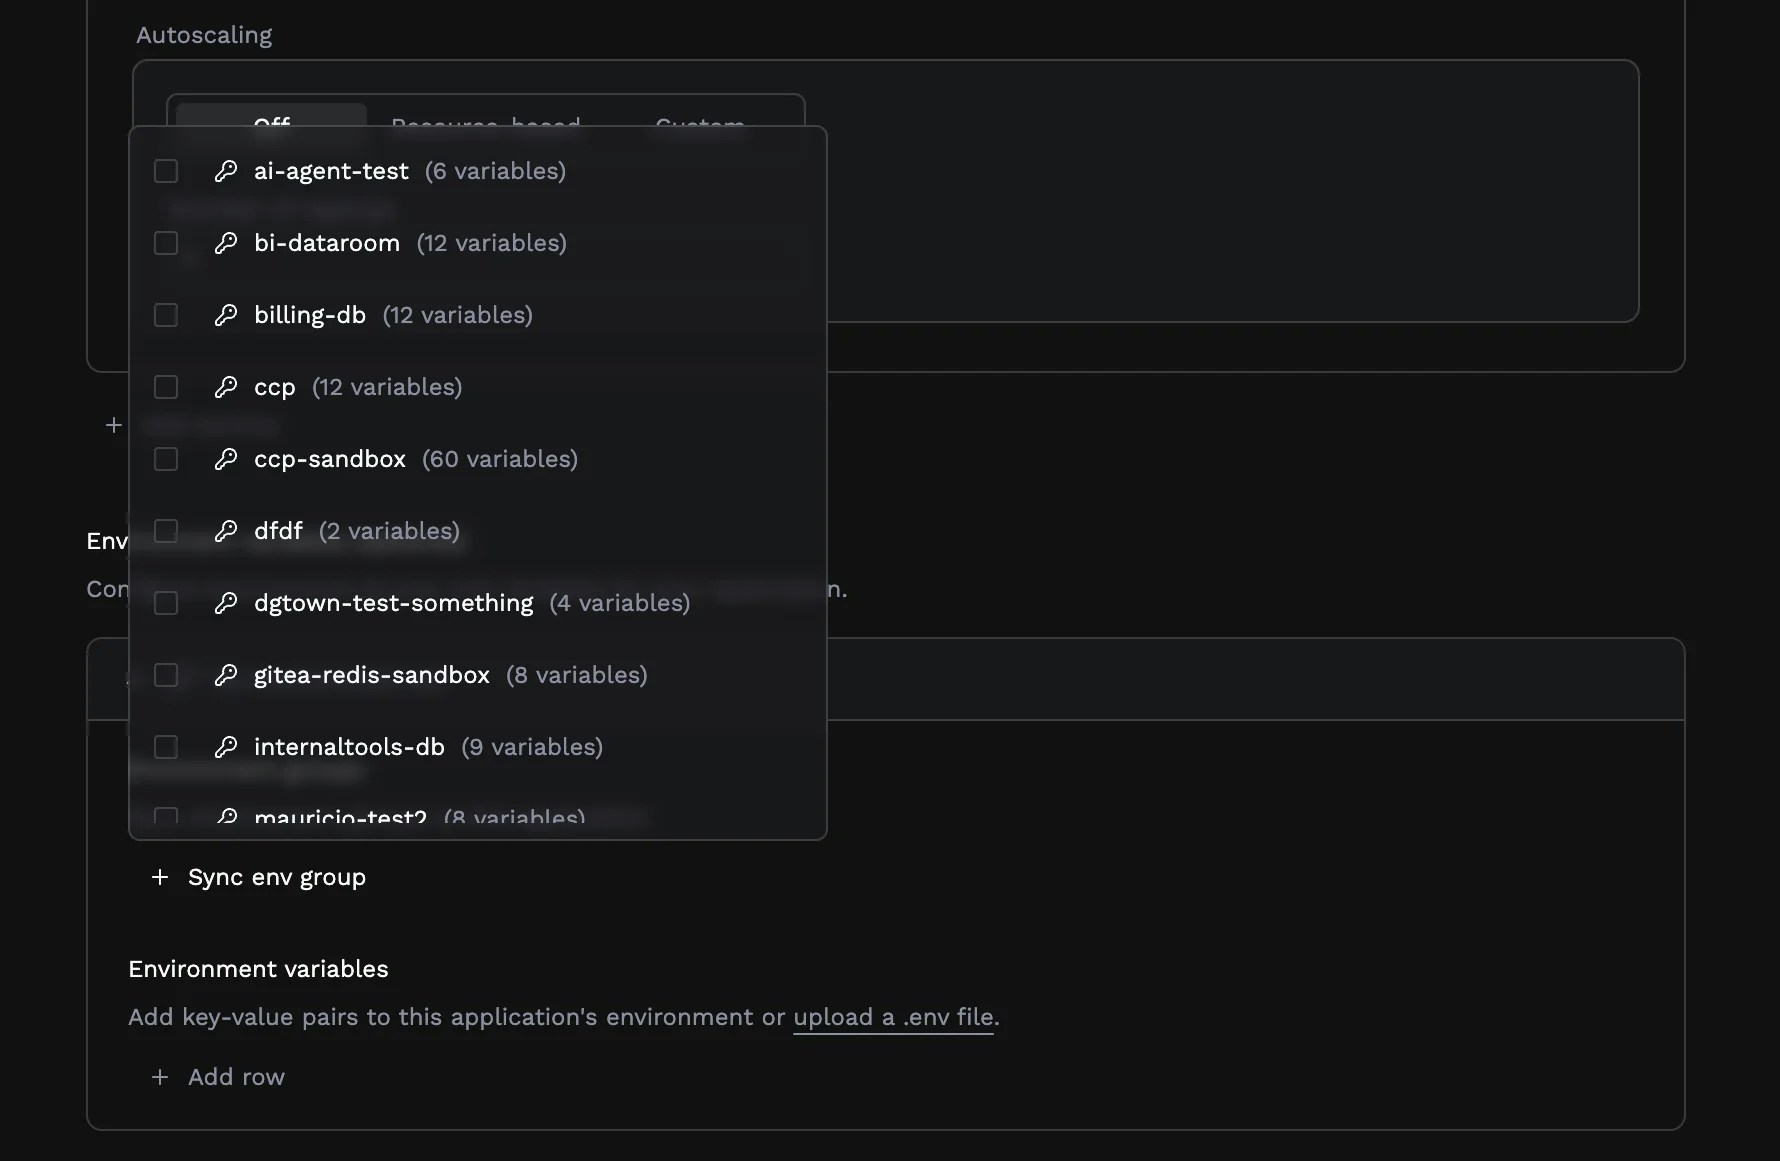
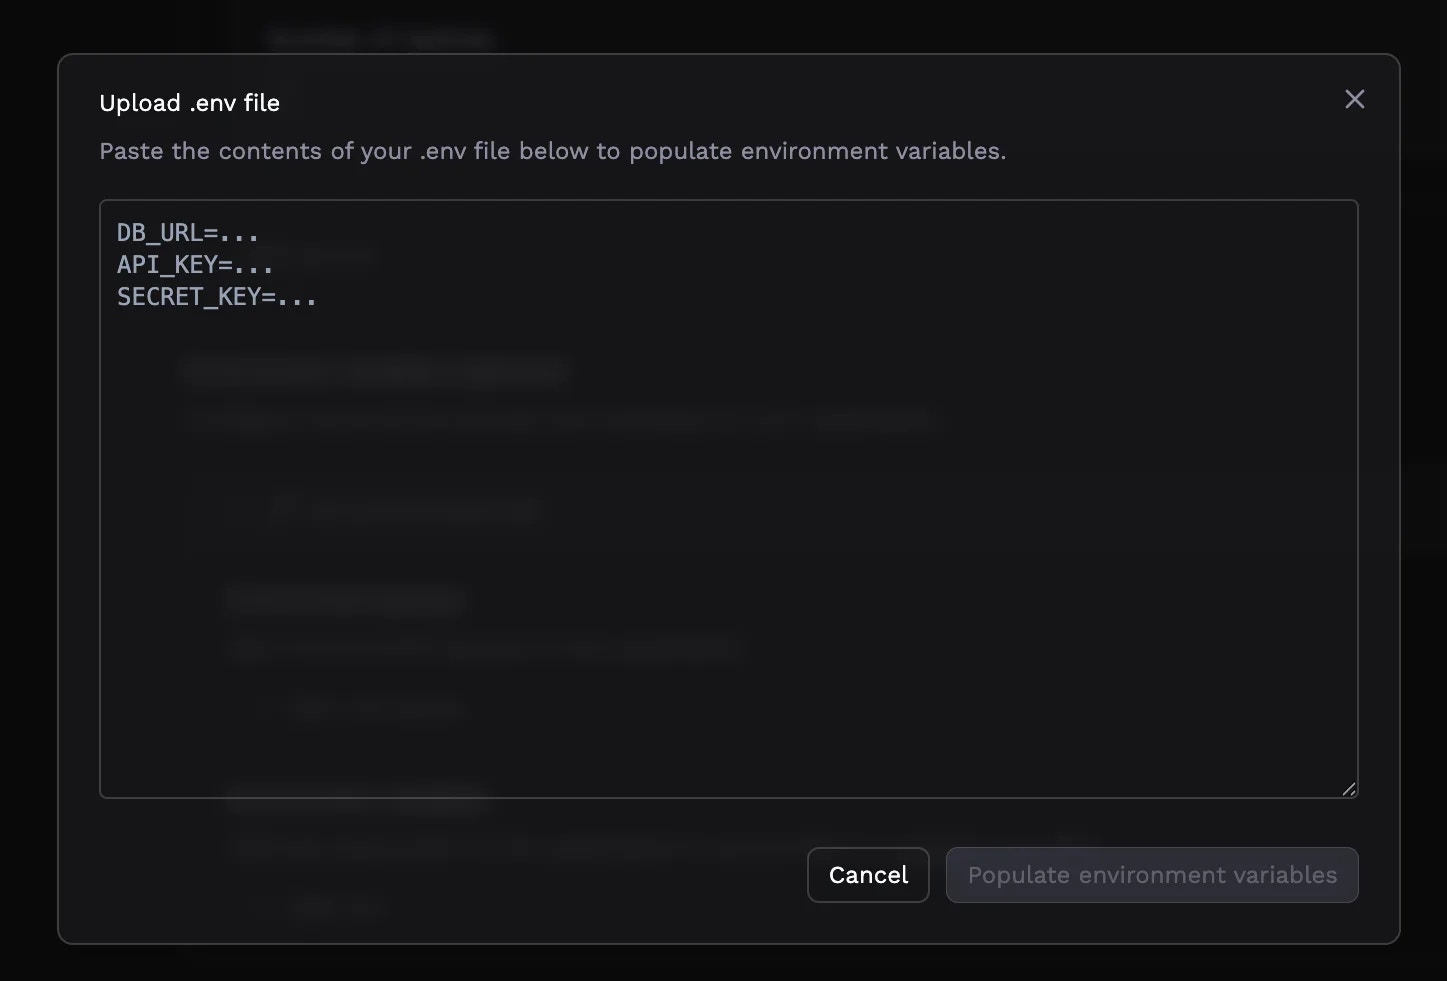
Uploading .env files
For applications with many environment variables, you can upload an existing.env file rather than entering each variable manually. Click Upload an .env file and paste in your file contents. Porter parses the KEY=VALUE format, skipping comments and empty lines.
Health checks
Health checks enable zero-downtime deployments by ensuring new instances are ready before receiving traffic. When enabled, Porter waits for your health endpoint to return a successful response before routing traffic to a new instance, and automatically restarts instances that become unhealthy.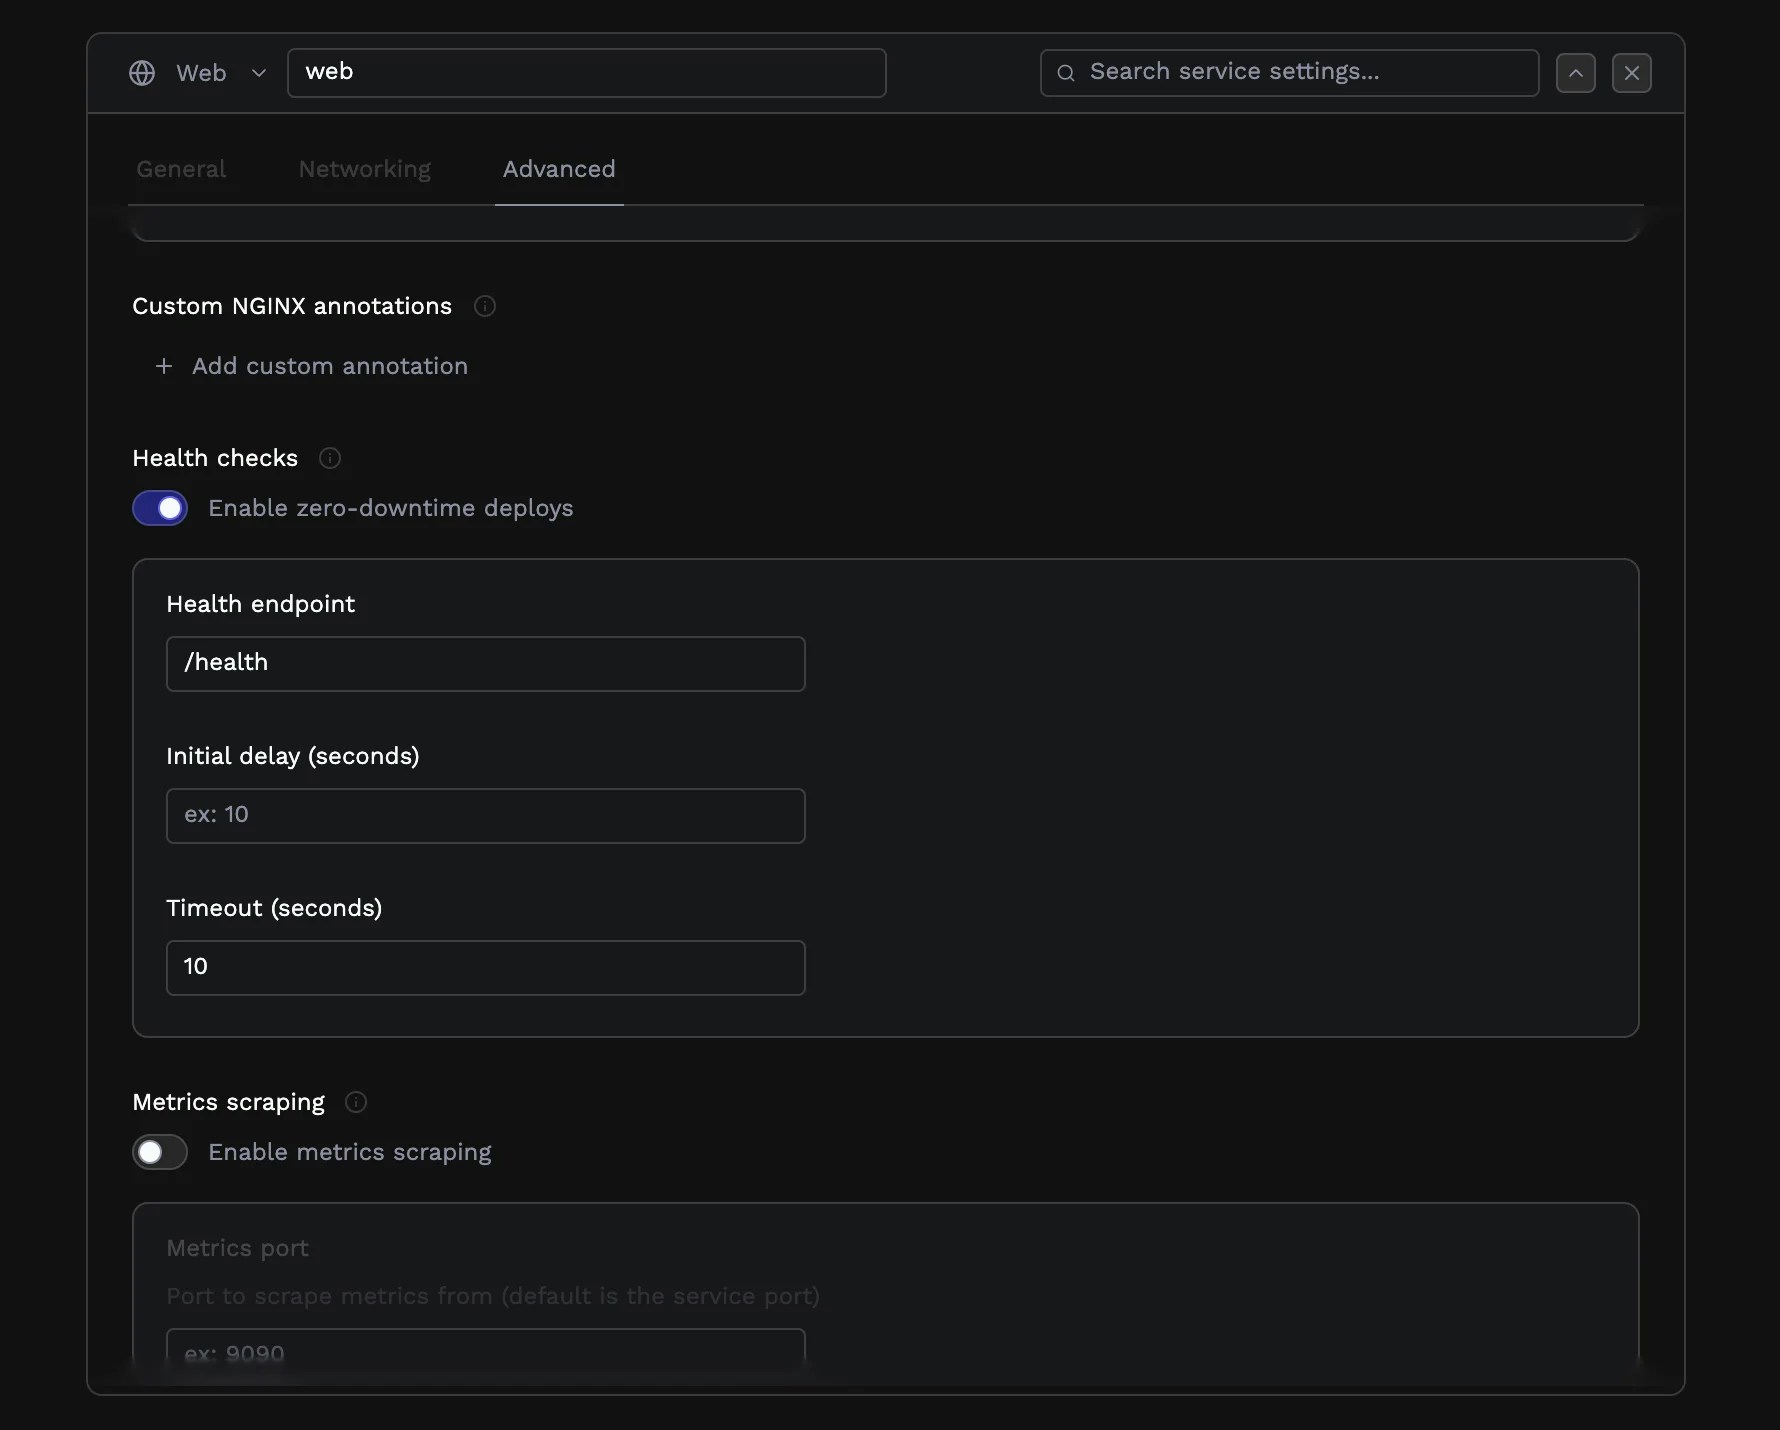
/health or /api/health) that your application exposes. The endpoint should return a 200-level status code when the service is ready to handle requests. For worker services, health checks use a command instead of an HTTP endpoint. Specify a shell command that exits with code 0 when the worker is healthy.
The initial delay gives your application time to start up before health checks begin. Set this higher if your application has a slow initialization process.
The timeout determines how long Porter waits for a response before considering the check failed.
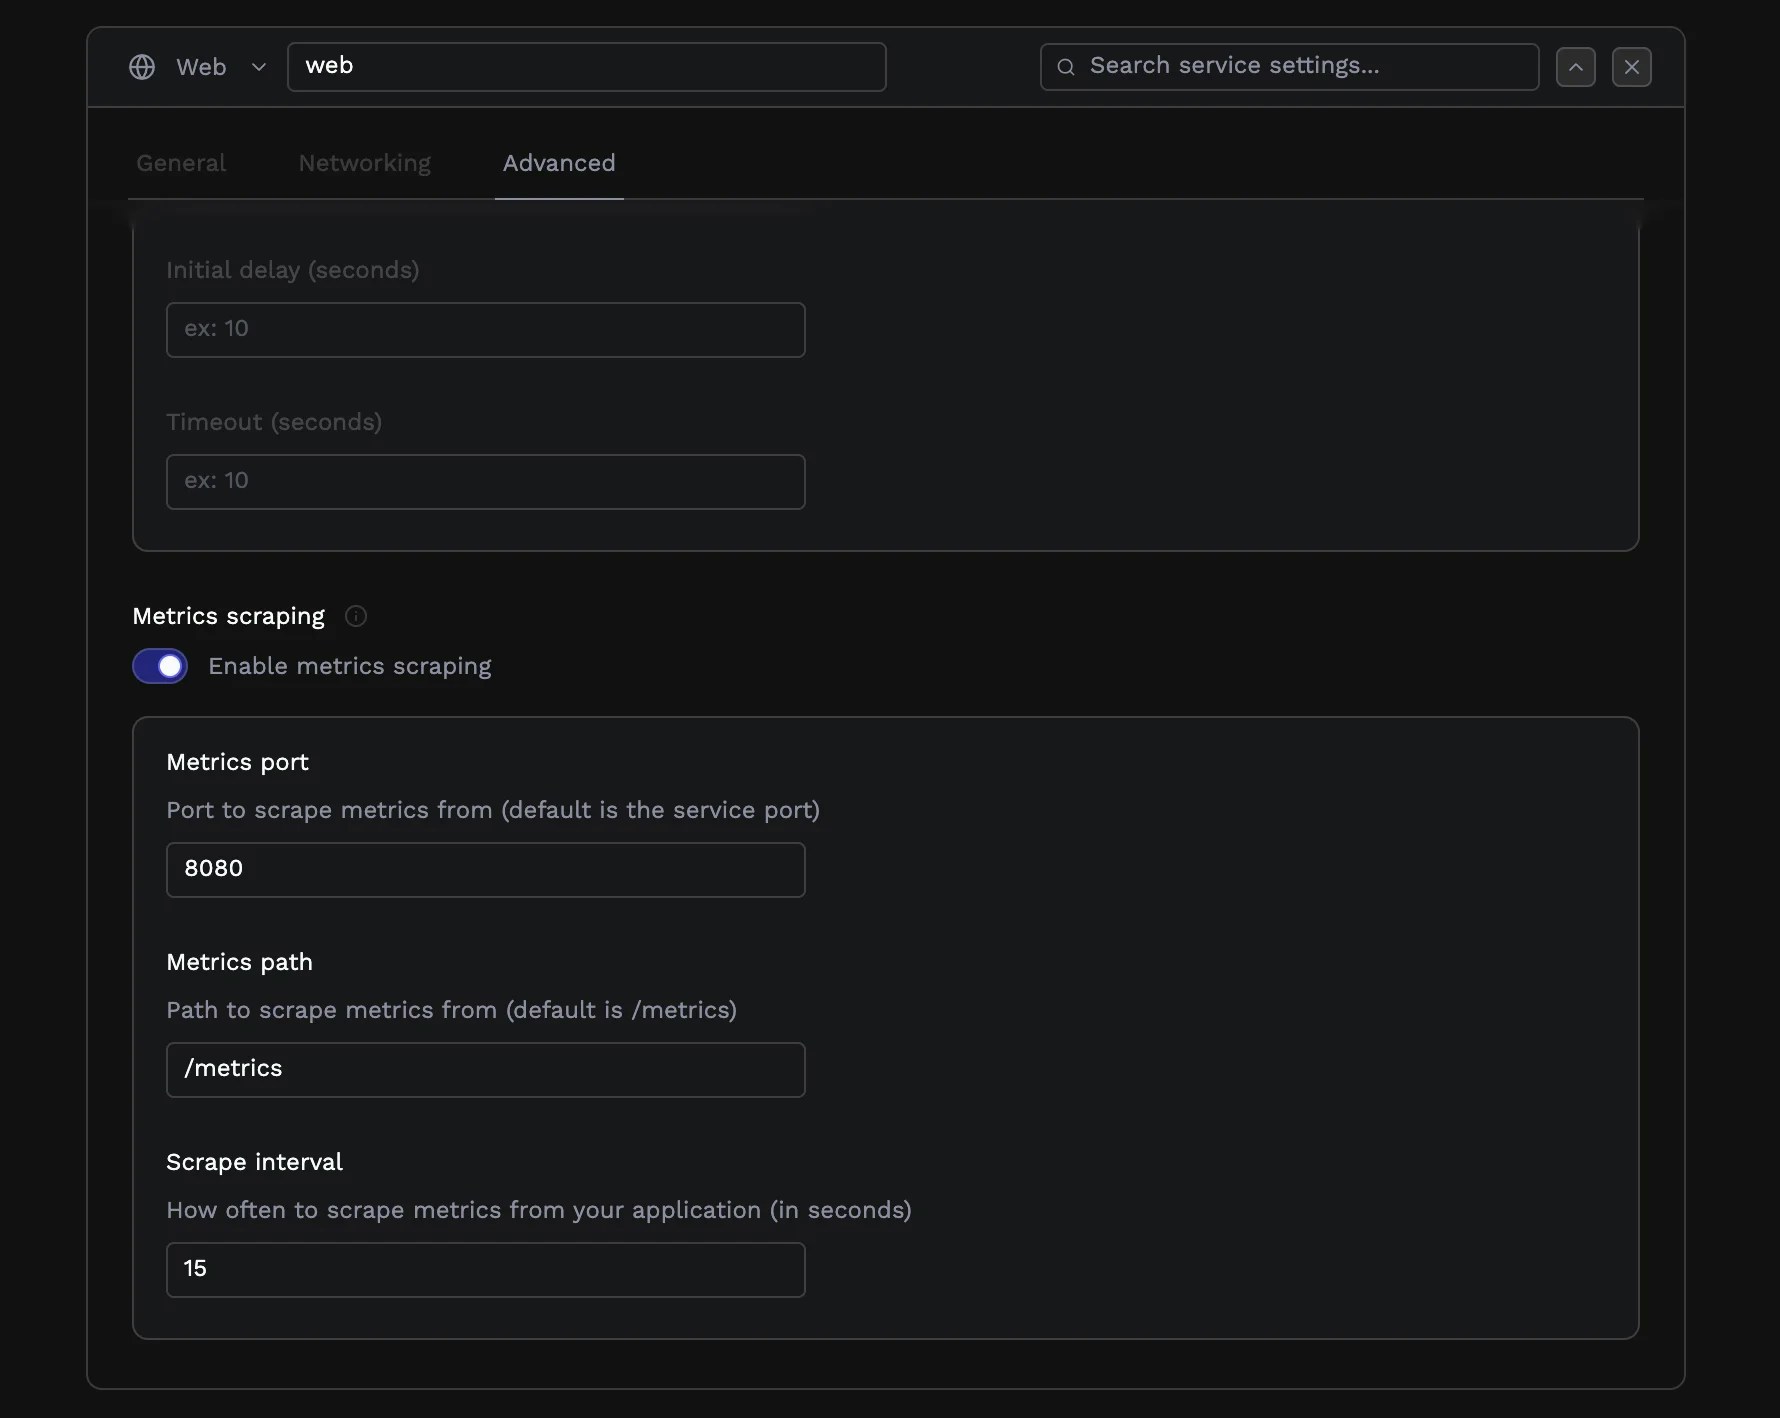
Metrics scraping
If your application exposes Prometheus metrics, Porter can scrape and forward them to your monitoring infrastructure. Enable metrics scraping and specify the port and path where your application serves metrics (commonly/metrics on the application port or a dedicated metrics port). See Custom Metrics Autoscaling for details on using these metrics for autoscaling.
Sleep mode
For non-production environments, sleep mode lets you pause a service to save costs. Sleeping services maintain their configuration but stop running instances. This is useful for staging environments that don’t need to run overnight or on weekends.Pre-deployment jobs
Some deployments need setup work before the main application starts, most commonly, database migrations. Pre-deployment jobs (also called migration jobs) run after your new code builds but before traffic routes to new instances.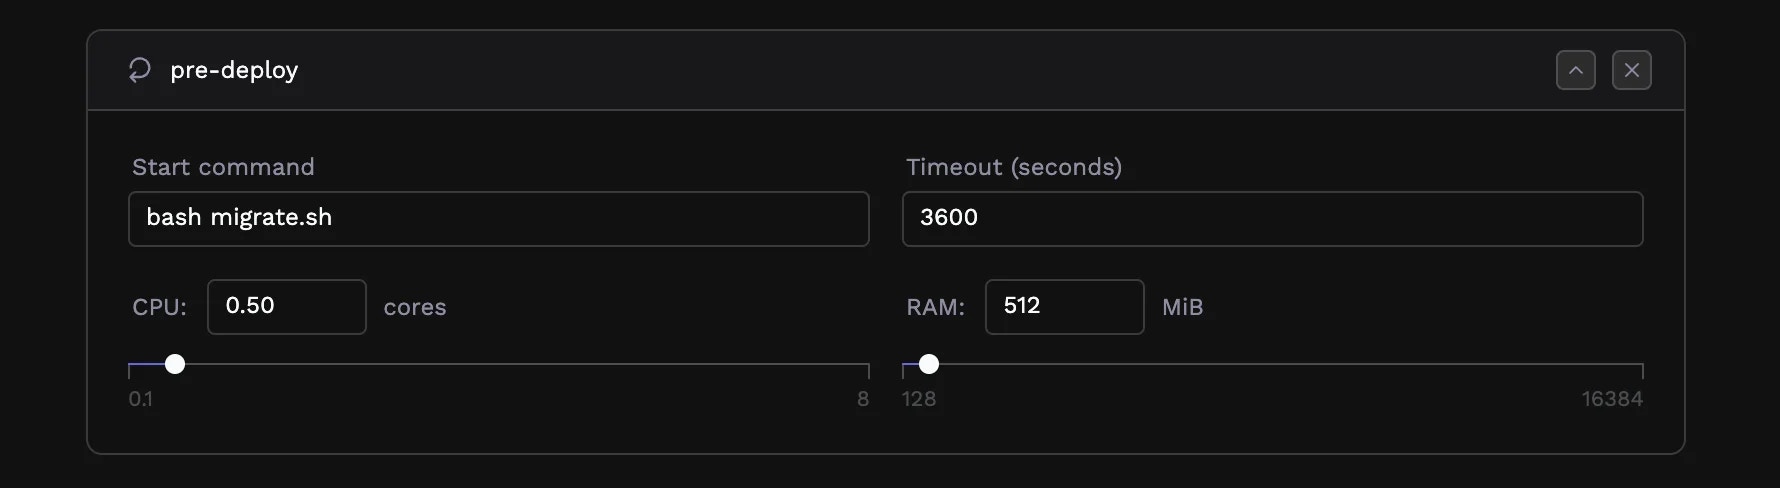
npm run migrate, python manage.py migrate, or bundle exec rails db:migrate.
Pre-deployment jobs have their own resource allocation separate from your application services. Migrations are typically short-lived but may need more memory than your running application, especially for large data transformations.
Configure an appropriate timeout based on how long your migrations typically take. The job must complete successfully before deployment continues. If it fails, the deployment halts, and your previous version continues running—your users never see a partially-migrated state.
Scheduled jobs and workers
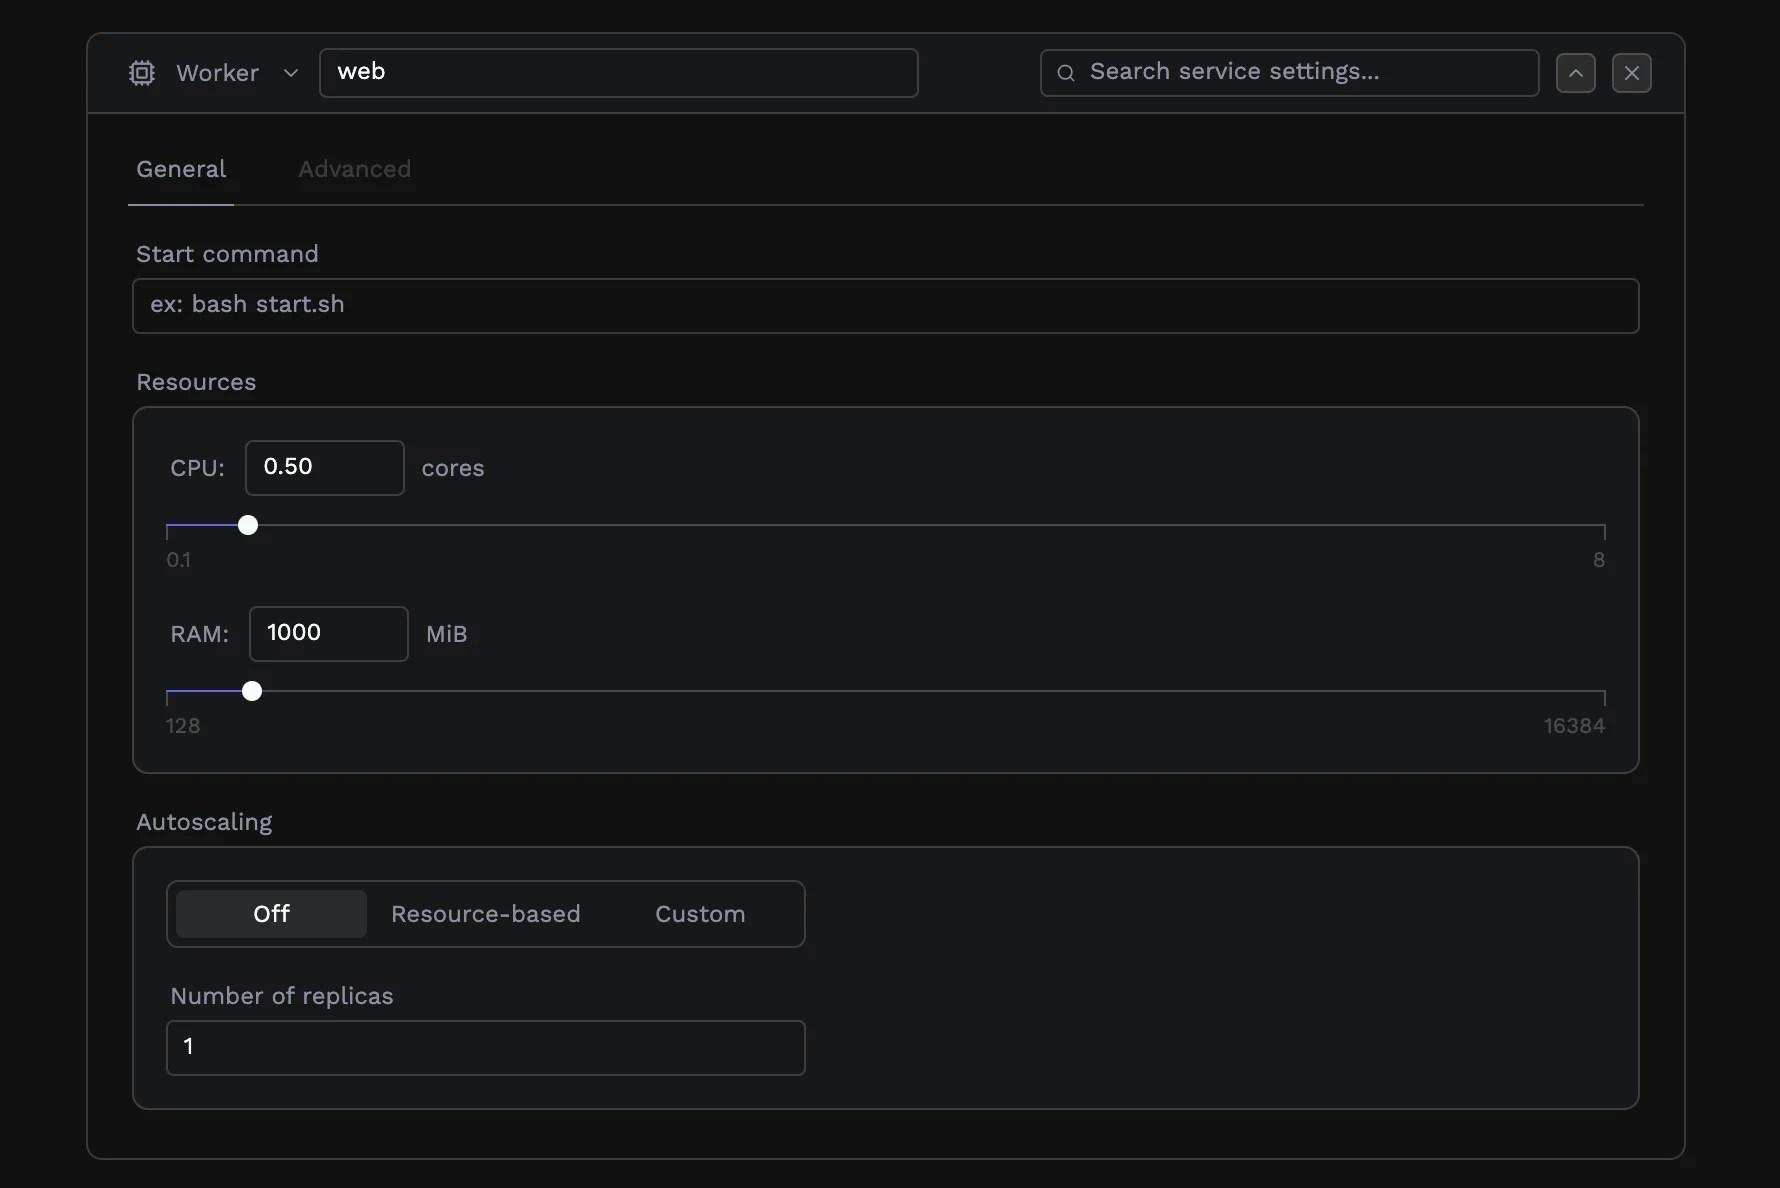
Not every workload serves HTTP traffic. Porter supports background workers and scheduled jobs for processing that happens outside the request-response cycle.Workers
Workers run continuously, processing tasks from queues, handling events, or performing ongoing background work. Configure a worker with a start command that runs your processing logic: for example,python worker.py or node src/consumer.js.
Jobs
Jobs run on a schedule and exit when complete. The cron schedule field accepts standard cron syntax with five fields: minute, hour, day of month, month, and day of week. Porter displays a human-readable description of your schedule as you type.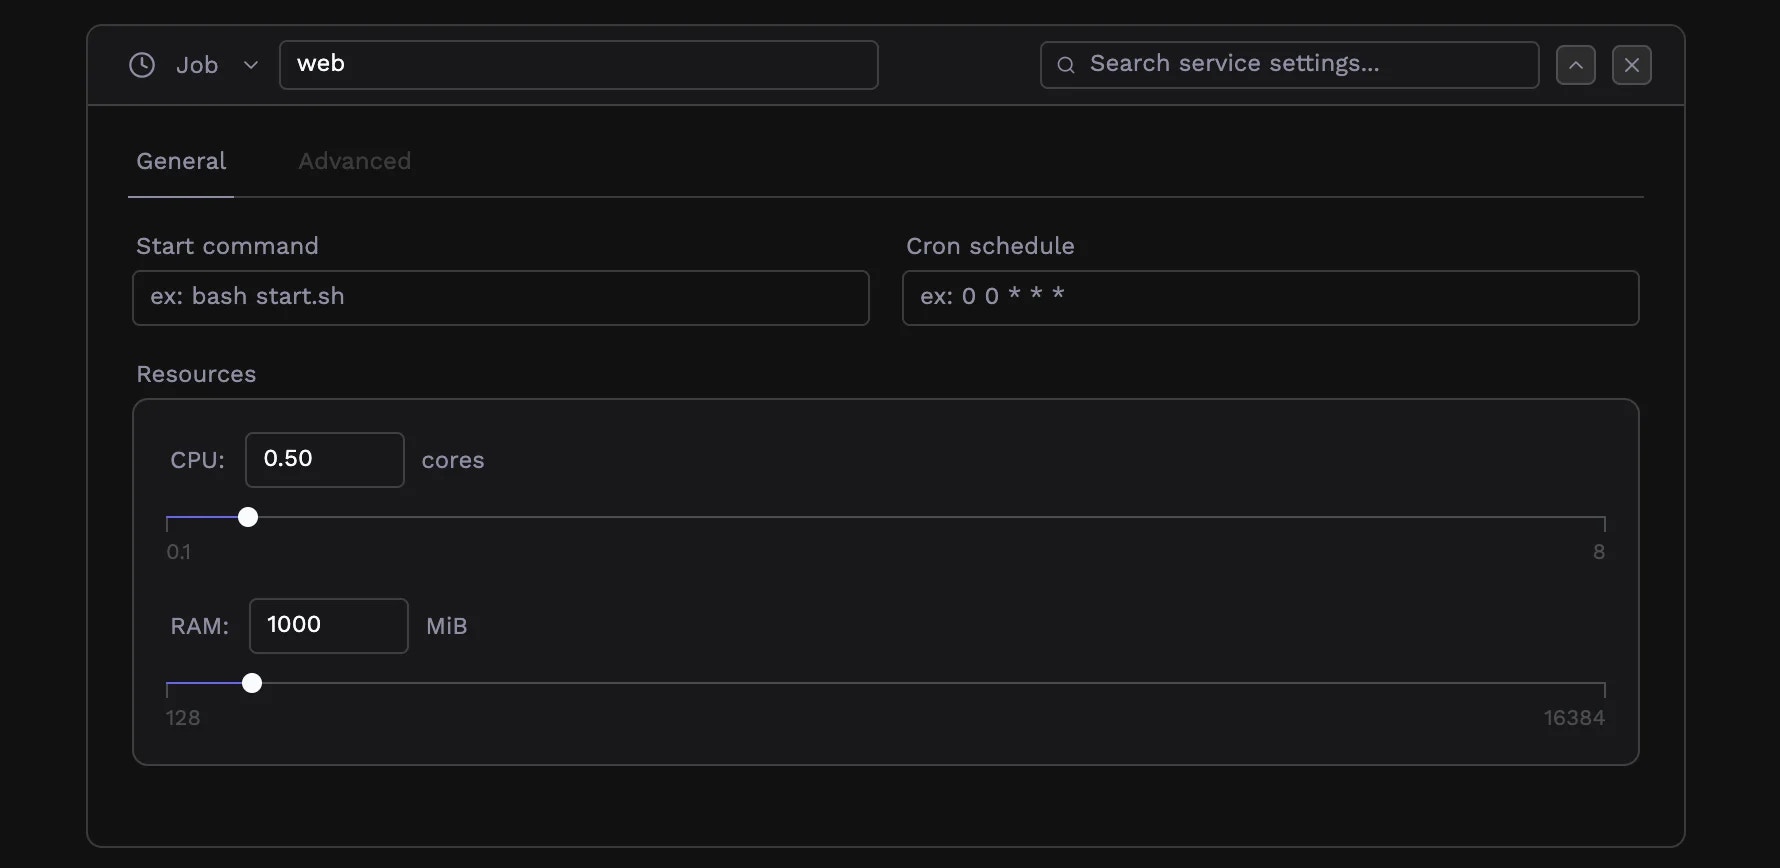
0 0 * * *runs daily at midnight0 */4 * * *runs every 4 hours0 9 * * 1-5runs at 9 AM on weekdays*/15 * * * *runs every 15 minutes