Creating a DNS record
If you have already created a wildcard DNS record (recommended), you may skip this section.-
From the Cloudflare dashboard, select
Websites, then your chosen domain name.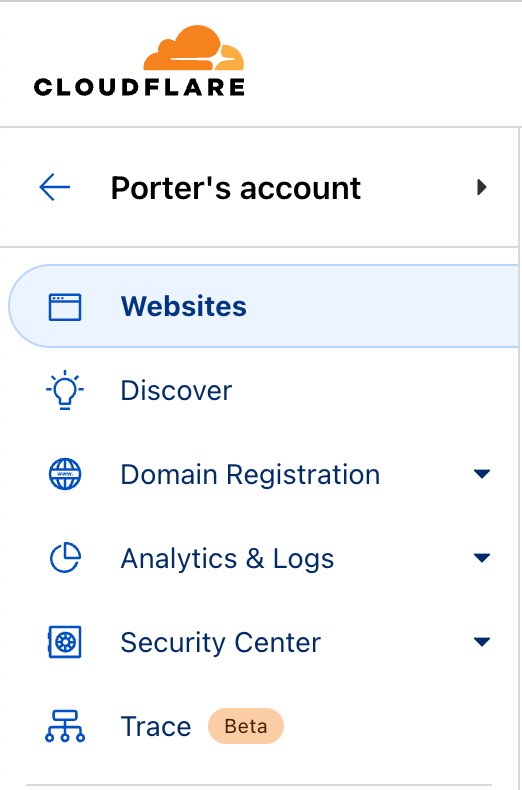
-
In the sidebar, select
DNS>Records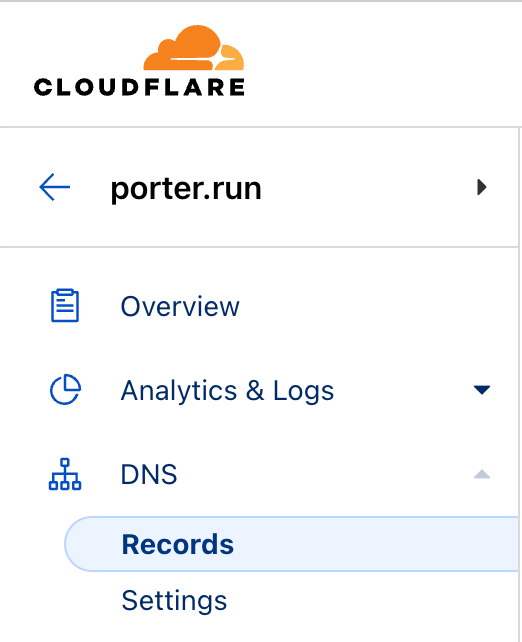
-
Click
Add Record
- CNAME Record
- A Record
If your loadbalancer address is a DNS name address, you will need to create a CNAME RecordSet 
Type to CNAME (CNAME Record)Set Name to the DNS name that your application should be available atSet Target to the Porter Loadbalancer DNS address from before
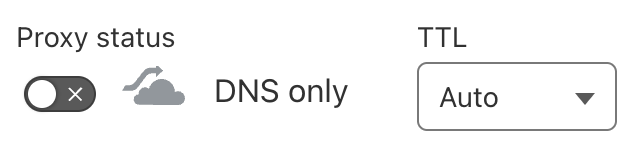
Non-Proxy DNS
Ensure thatProxy Status is disabled. This will show as DNS only.
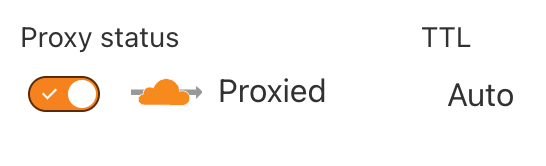
Proxy DNS
Ensure thatProxy Status is enabled. This will show as Proxied.
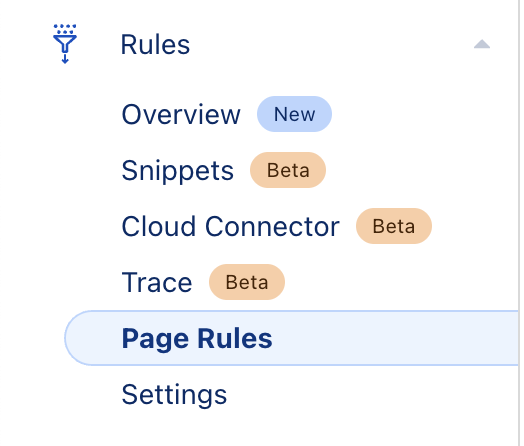
Allowing Acme-Challenges
To ensure that Porter can still create certificates on your behalf, we must allow LetsEncrypt traffic to not be proxied by Cloudflare, as they must be made over http, or unverified https. From the sidebar, selectRules > Page Rules
Create rule
Give the rule a name. This can be any name you choose.
Assuming the domain in question is example.com, add a new Page rule for *example.com/.well-known/acme-challenge/*, with the following settings:
SSL: OffCache Level: Bypass
Too Many Redirects
This step is not necessary for most customers. Only proceed if you are seeing atoo many redirects error.
If you visit your custom domain, you may now get a too many redirects error from Cloudflare.
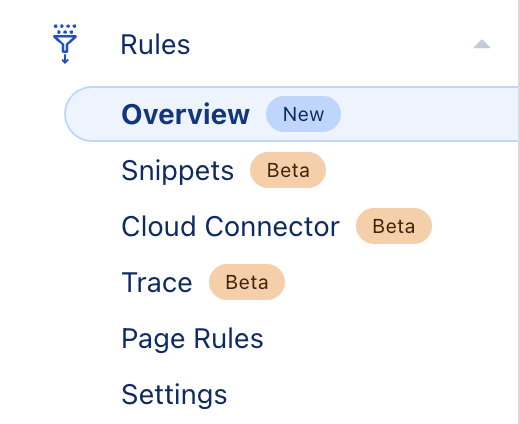
To fix this issue, we must create a Cloudflare Configuration Rule.
From the sidebar, select Rules > Overview
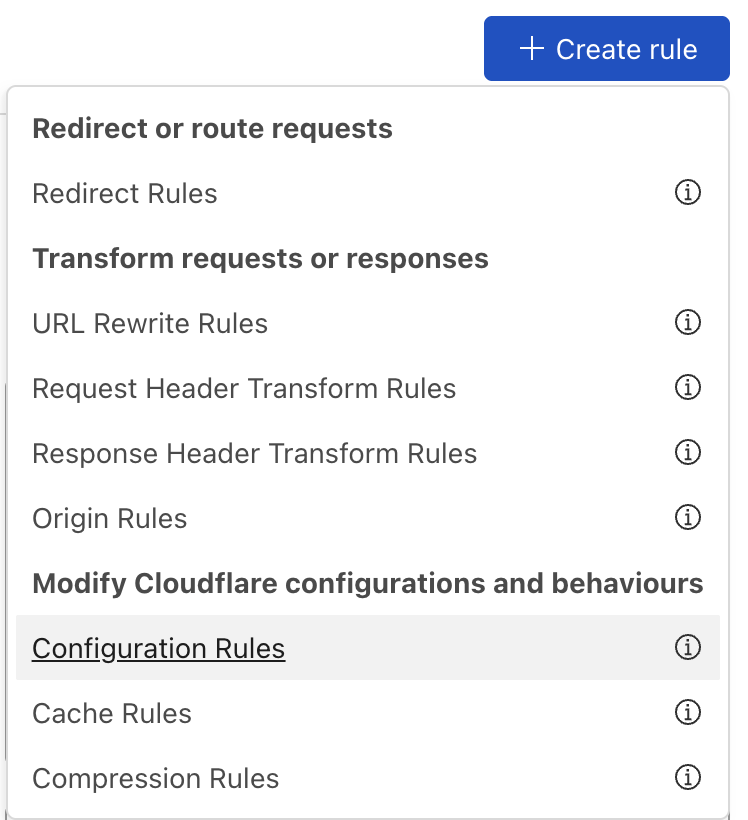
Create rule, then select Configuration Rules
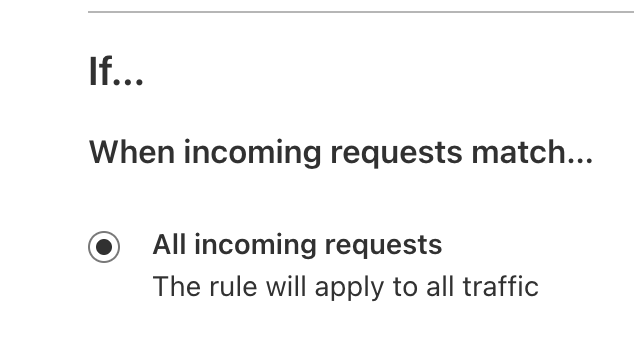
All incoming requests
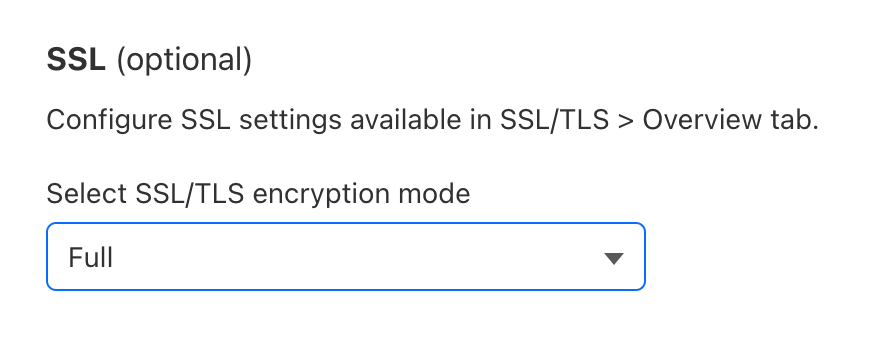
SSL (Optional)
Click Add and choose Full from the drop down.